
Gain Structure for Live Sound: A Beginner-Friendly Step-by-Step Guide
Oct 30, 2026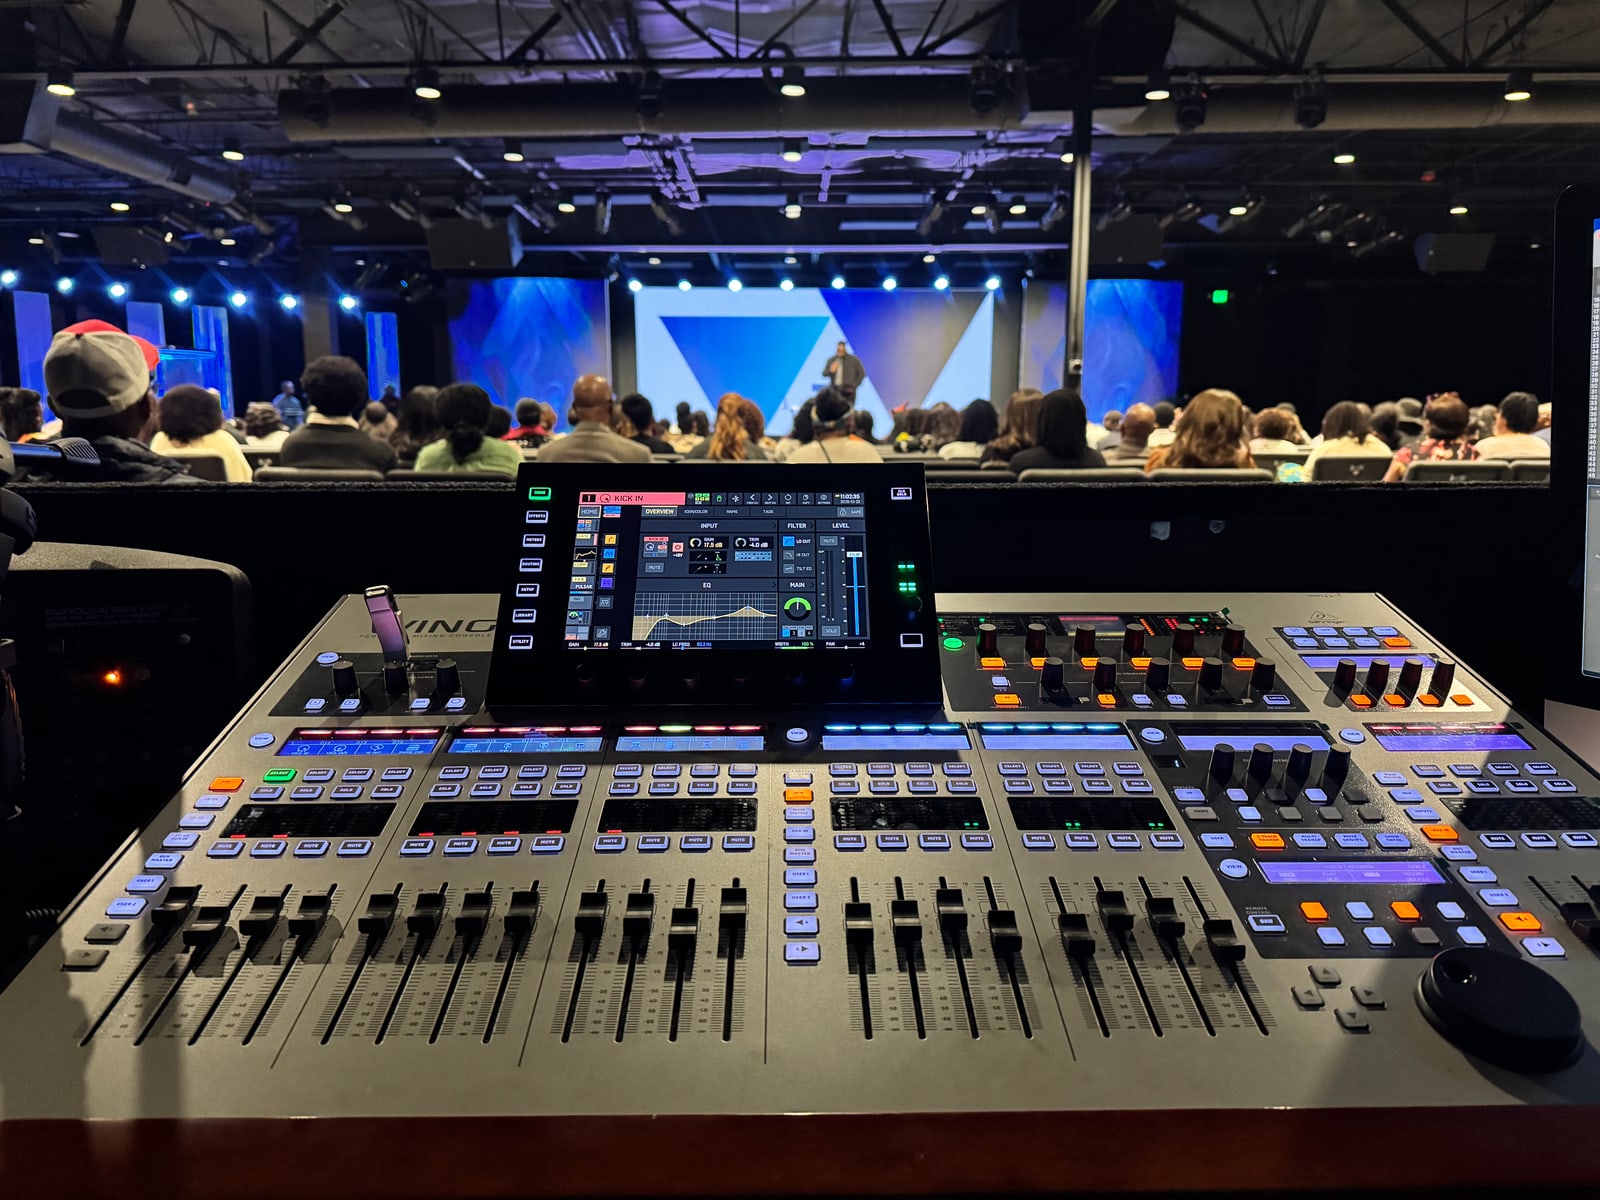
By Tobi Mark
Quick answer: Good gain structure means keeping the signal at a healthy level through every part of the sound system. Start with the source performing at a realistic level, use Pre-Fader Listen (PFL) or your console's Solo function to set the input preamp with enough headroom, use the channel fader to build the mix, and check every bus and output for clipping. PFL lets you listen to and meter the input signal before the channel fader changes its level in the mix. The goal is a clean, predictable signal from the microphone or instrument all the way to the loudspeaker.
If your mix is noisy, distorted, or difficult to control, the problem may have started before you touched the EQ. You can lower a fader and make a clipped signal quieter, but the distortion is still there. You can raise a master fader and make a weak input louder, but you may also raise the noise with it.
This is why gain structure matters. It gives every part of the signal path enough level to work properly while preserving room for louder moments.
In this guide, I will walk you through the process I use to think about gain structure during live sound. I will also explain what gain, trim, faders, buses, and output controls actually do, because they are related but they are not interchangeable.
There is no universal meter target that works on every console. Different manufacturers use different scales, colors, and reference points. The process matters more than memorizing one number.
What Is Gain Structure in Live Sound?
Gain structure is the way signal level is managed through every stage of an audio system.
A simple live-sound signal path may look like this:
Voice or instrument → microphone or DI → preamp → channel processing → channel fader → bus or main mix → matrix or output → system processor → amplifier or powered speaker
Every arrow represents another point where the signal can become too low, too high, noisy, or distorted. Good gain structure keeps the signal strong enough to stay above the system's noise floor without pushing any stage into clipping.
The input gain knob is an important part of this process, but it is not the entire process. A channel can look healthy while a bus is clipping. A main output can look healthy while a wireless receiver, system processor, amplifier, or powered speaker is being overloaded.
The best way to troubleshoot gain is to follow the signal path in order instead of turning up random controls until the system gets louder.
Why Proper Gain Structure Matters
Proper gain structure helps you:
- Keep the signal clear without unnecessary hiss.
- Prevent clipping and harsh digital distortion.
- Preserve headroom for louder words, notes, and drum hits.
- Keep channel faders in a useful working range.
- Feed gates, compressors, and other processors appropriately.
- Build monitor and livestream mixes that behave predictably.
- Find the actual stage causing a level problem.
Headroom is the space between the signal's normal operating level and the point where that stage clips. Live performances need headroom because people rarely perform at one perfectly consistent level. A singer may give you a quiet soundcheck and then sing much louder once the band and audience are in the room. A drummer may play a few controlled hits during line check and hit much harder during the first song.
Your goal is not to make every meter as hot as possible. Your goal is to capture a useful signal while leaving room for the performance to grow.
Gain, Trim, Fader, and Volume Are Not the Same Thing
Beginners are often told to "turn it up" without being told which control to use. That creates confusion because several controls can change level, but they change it at different points in the signal path.
Preamp gain
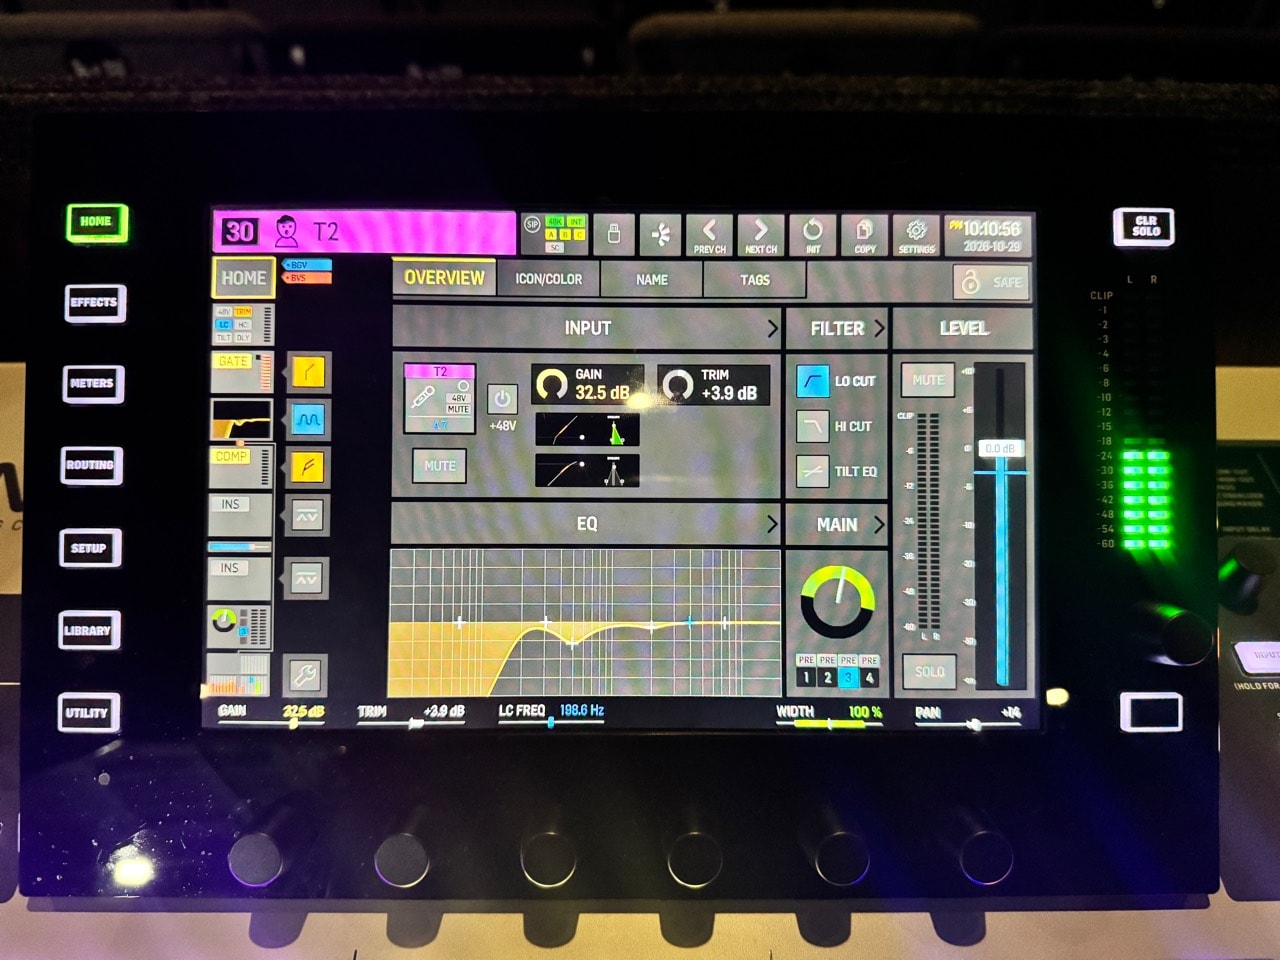
The preamp raises the small electrical signal from a microphone or other source to a level the console can process. This is usually the first adjustable electronic gain stage inside the mixer.
For example, a singer can sound loud in the room while the microphone still sends a very small electrical signal. The preamp strengthens that signal for the mixer. I set it while the singer performs, then use the fader to decide how loud that vocal sits in the mix.
If the preamp is too low, the signal may be weak and noisy. If it is too high, the input can clip before the signal reaches the fader.
Digital trim
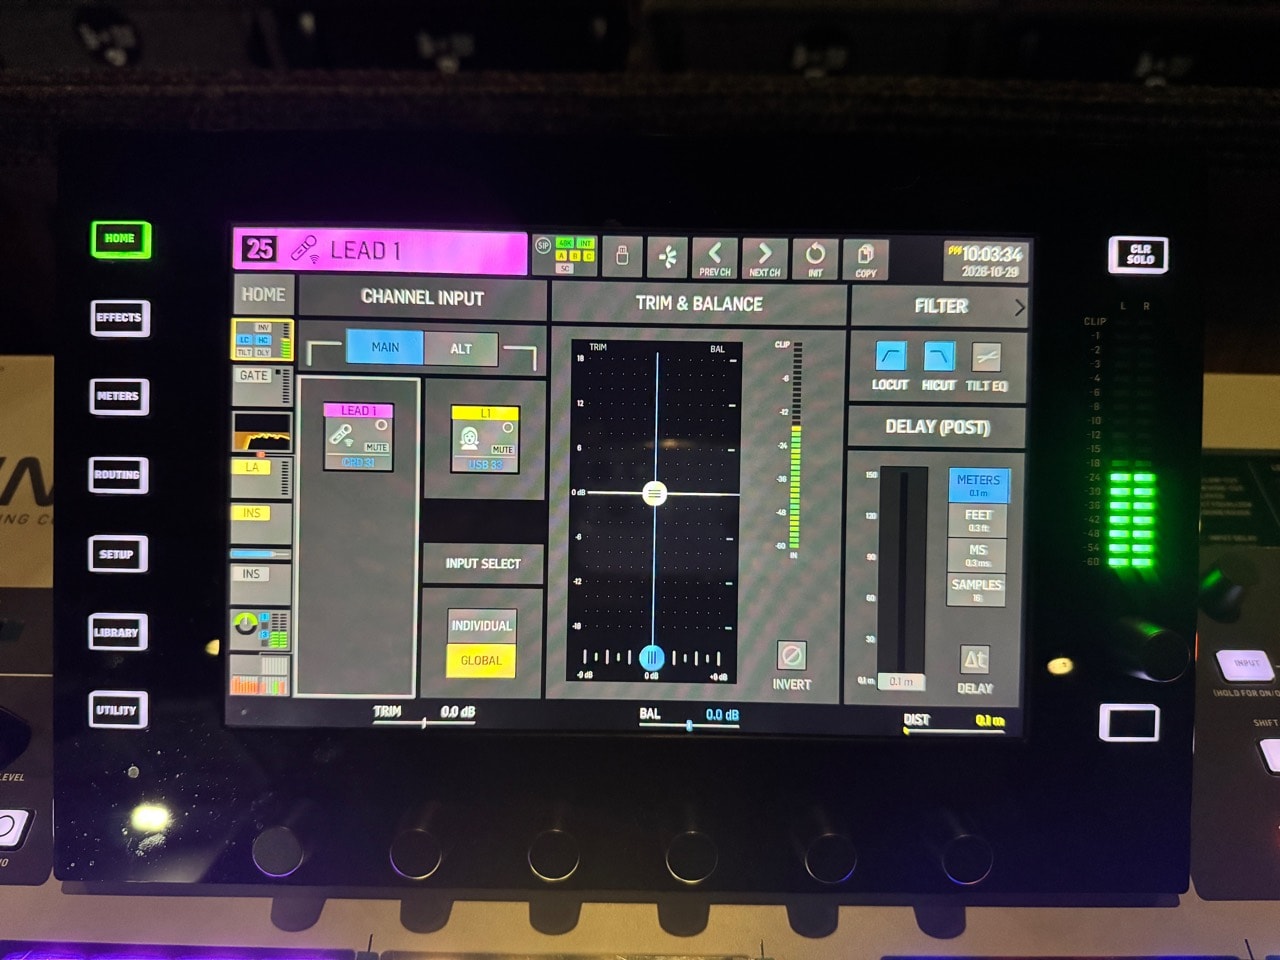
Digital trim adjusts the signal after it has been converted into digital audio, the form the mixer uses for processing. Think of it as another level adjustment, later in the signal path. It does not change the microphone preamp itself.
For example, during a virtual soundcheck, I might play a recorded vocal back through the console. If that recording needs a level adjustment before the channel's EQ and compressor, I can use digital trim. I am adjusting the playback, not changing how the microphone was recorded.
Trim cannot repair a preamp that has already clipped. Think of a distorted recording on your phone: turning it down makes it quieter, but the distortion is still there.
Channel fader
The channel fader controls how much of that channel reaches a mix after the input stage. This is the control you normally use to balance the vocal, drums, instruments, and playback during the event.
The 0 dB mark on a fader is called unity. It means the fader passes the signal through without making it louder or quieter. Zero here does not mean silence. It means zero change in level at this control.
Why does that matter? Unity gives me a clear starting reference. On most console faders, the markings are also farther apart around 0 dB than near the bottom. That makes small level changes easier to control, such as bringing a vocal up a little without suddenly making it too loud.
I still move the fader wherever the mix needs it. Unity is a useful starting point, not a rule that every fader must stay at 0 dB.
Bus, matrix, and master faders
These controls manage the combined level of multiple signals. Even when every individual input is healthy, several channels can add together and overload a bus, matrix, livestream output, or main mix.
Amplifier and powered-speaker controls
These are part of the complete system gain structure. They should be configured intentionally based on the system design, processor, limiter settings, amplifier sensitivity, and loudspeaker requirements.
Do not automatically turn every amplifier or powered speaker all the way up, halfway up, or to the same knob position. The correct setting depends on the equipment and how the system was designed and tuned.
How to Set Gain Structure Step by Step
Step 1: Start From a Known and Safe State
Before raising gain, confirm that you know where the signal is going.
- Verify the input patch and source.
- Confirm whether the source needs phantom power.
- Check whether a pad is engaged.
- Confirm the channel's bus and main assignments.
- Look for leftover EQ boosts, compressor makeup gain, insert processing, or digital trim.
- Begin with the relevant outputs muted or at a controlled level.
You do not have to erase a carefully built show file every time you set gain. The point is to understand the starting state so an old setting does not mislead you.
Use phantom power only when the connected device requires it, such as many condenser microphones and active DI boxes. Mute the channel and follow the equipment manufacturer's safe connection procedure before switching phantom power.
Step 2: Match the Source to the Correct Input
A microphone, keyboard, laptop, wireless receiver, and passive guitar do not all deliver the same type or strength of signal.
- Connect microphones to microphone inputs.
- Connect line-level devices to appropriate line inputs when available.
- Use a DI box when an instrument needs impedance matching, balancing, isolation, or a long cable run.
- Check the output setting on keyboards, playback devices, wireless receivers, and other source equipment.
If a source is extremely low or already clipping before it reaches the console, the console preamp cannot solve the original problem correctly. Start at the source and work forward.
Step 3: Ask for a Real Performance Level
Ask the singer to sing the loudest section of the song. Ask the speaker to project the way they will during the service. Ask the drummer to play the way they will play when the room is full.
One of the biggest soundcheck mistakes is setting gain while someone is speaking softly and then assuming that level will survive the performance.
I would rather ask for a realistic performance level now than make a rushed preamp change after the monitor mixes, compressors, livestream mix, and recording feeds have already been built.
Sometimes, even when you ask for the loudest section, musicians do not give their full performance level right away. If the level rises after the service or event begins, first identify what actually changed. If the input is clipping, carefully lower the preamp and recheck every affected mix. If the input still has headroom and the issue is only the balance in the room, use the channel fader.
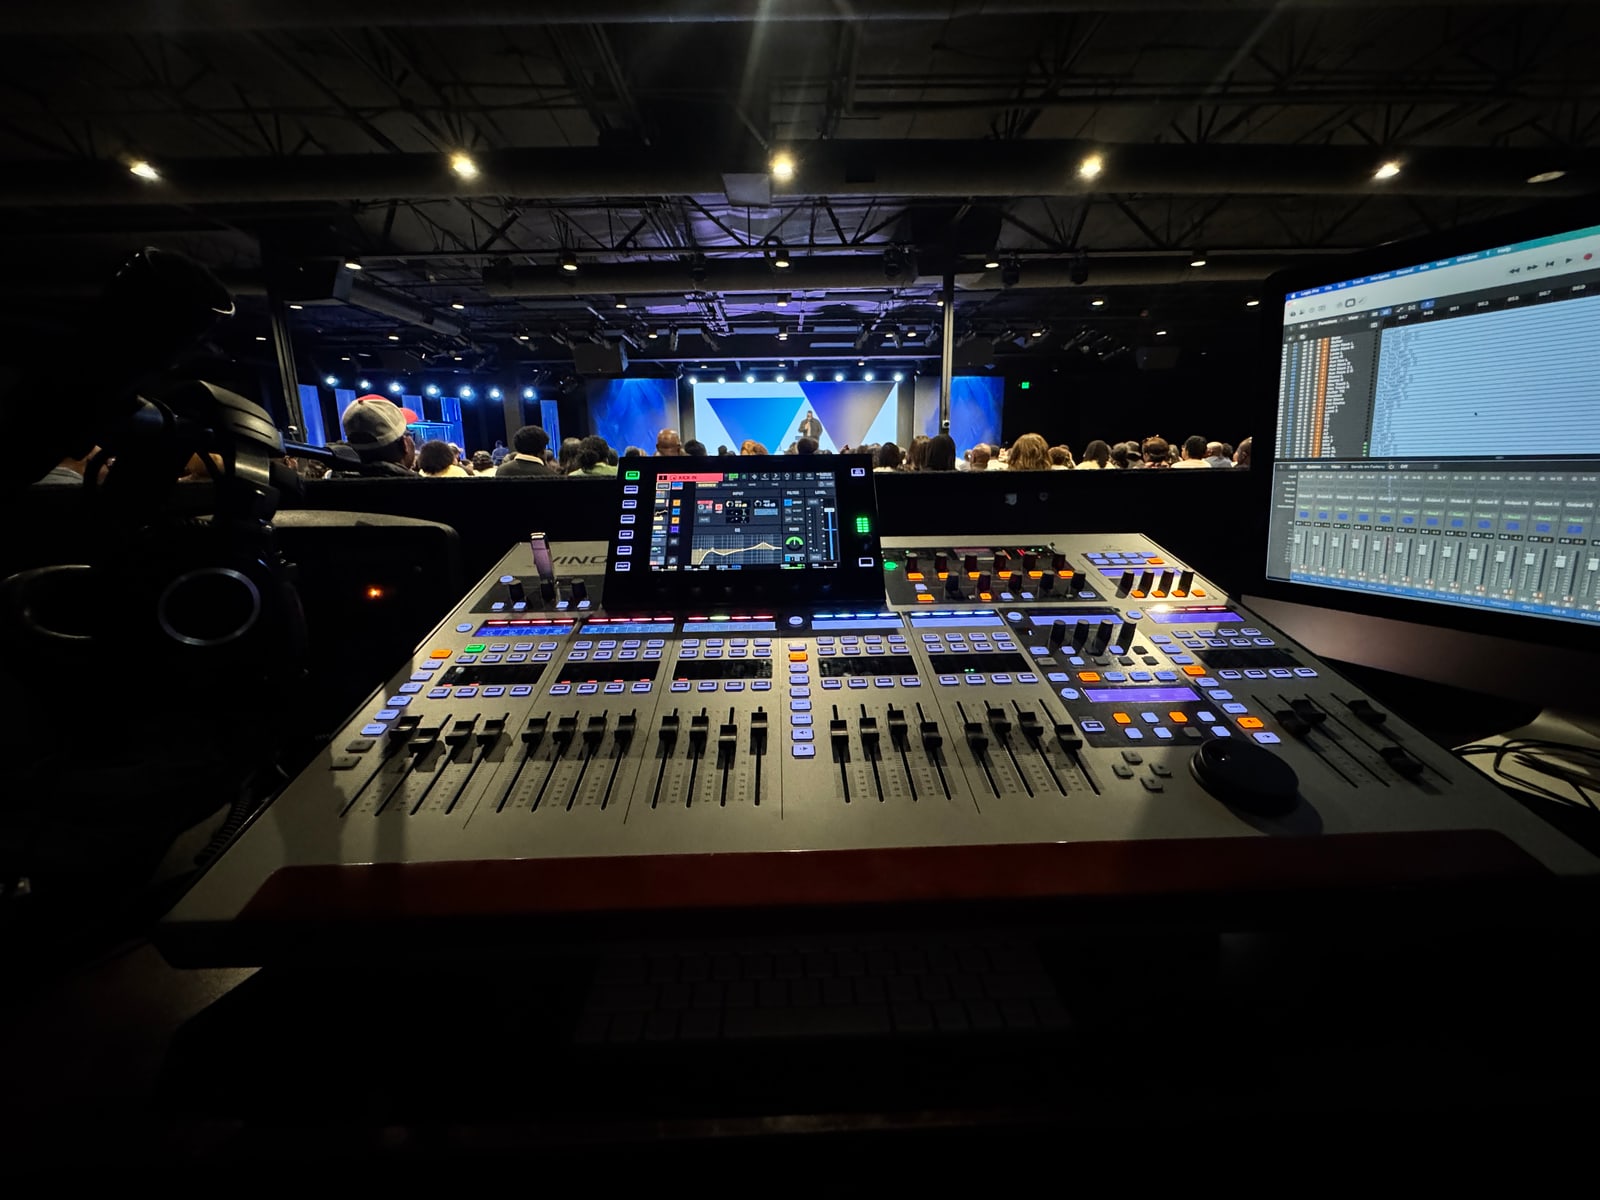
For a service or gig that happens regularly, a better long-term solution is to record the real performance as multitracks and run a virtual soundcheck later. Route the recorded tracks back through the same channel processing, or through a clearly controlled virtual-soundcheck input state. You can then refine fader balance, EQ, dynamics, buses, and routing without asking the musicians to stay after the event. Use what you learn to create a better starting point for the next live soundcheck.
Virtual soundcheck does have limits. The recording already includes the preamp level used during the original performance, so it cannot recreate a new physical input-gain setting. It also cannot reproduce microphone technique, acoustic spill, stage volume, or the live feedback path. Clearly label your LIVE and VIRTUAL SOUND CHECK states, save your work, and restore the live inputs before the musicians return.
Step 4: Use PFL or Solo to Check the Input
Select the channel's PFL or Solo function according to your console. PFL checks the signal before the channel fader. Solo can be set before or after the fader, so confirm its settings before using it to judge input level.
Watch the channel or Solo meter, not only the main output meter. The main meter cannot tell you whether one input is clipping before it joins the rest of the mix.
Listen through headphones as well. A meter can show level, but it cannot tell you that a cable is crackling, a wireless transmitter is overloaded, a microphone is too far from the source, or the signal already sounds distorted before it reaches the console.
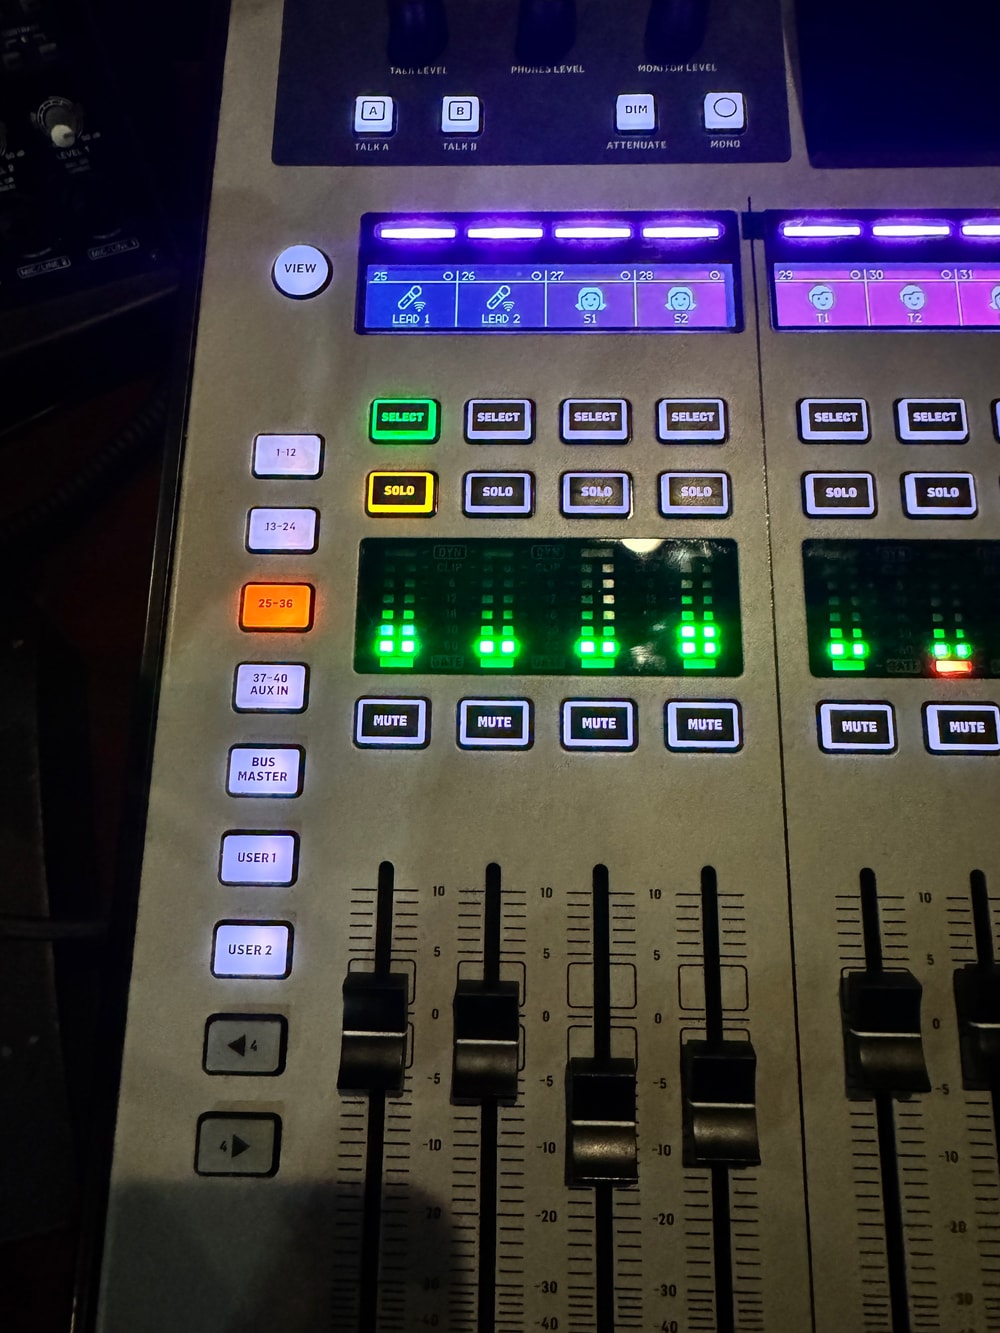
Step 5: Raise the Preamp and Leave Useful Headroom
Raise the preamp until the source produces a healthy, stable signal with room for louder moments. Test the loudest expected word, note, or drum hit.
If your console uses a digital meter, remember that 0 dBFS is the ceiling, not a target. Do not aim for clipping. If the console uses an analogue-style scale, 0 on that meter may represent a normal operating level rather than the clipping point.
This is why I do not give one meter number for every mixer. Use the scale and guidance provided for your console. Whatever the scale looks like, normal performance should be comfortably clear of the clip indicator, and the loudest expected peaks should still have room.
If the input clips even with the preamp near its minimum, investigate the source output, input type, and pad. Do not use a pad automatically. Use it when the incoming signal is too strong for the input range.
Step 6: Apply Processing and Watch the Level Again
Gain staging does not stop after the preamp.
An EQ boost adds level in the boosted frequency range. Compression reduces level when the signal crosses the threshold, and makeup gain raises it again. Gates, inserts, effects returns, and specialty processors can also change what reaches the next stage.
After applying high-pass filtering, EQ, gating, compression, or other processing:
- Compare the processed and bypassed signal at a similar perceived level.
- Check whether the channel or bus is approaching clipping.
- Confirm that makeup gain is replacing only the level you actually need.
- Listen for added noise, pumping, or distortion.
If a processor sounds impressive only because it is louder, level-match the comparison and listen again.
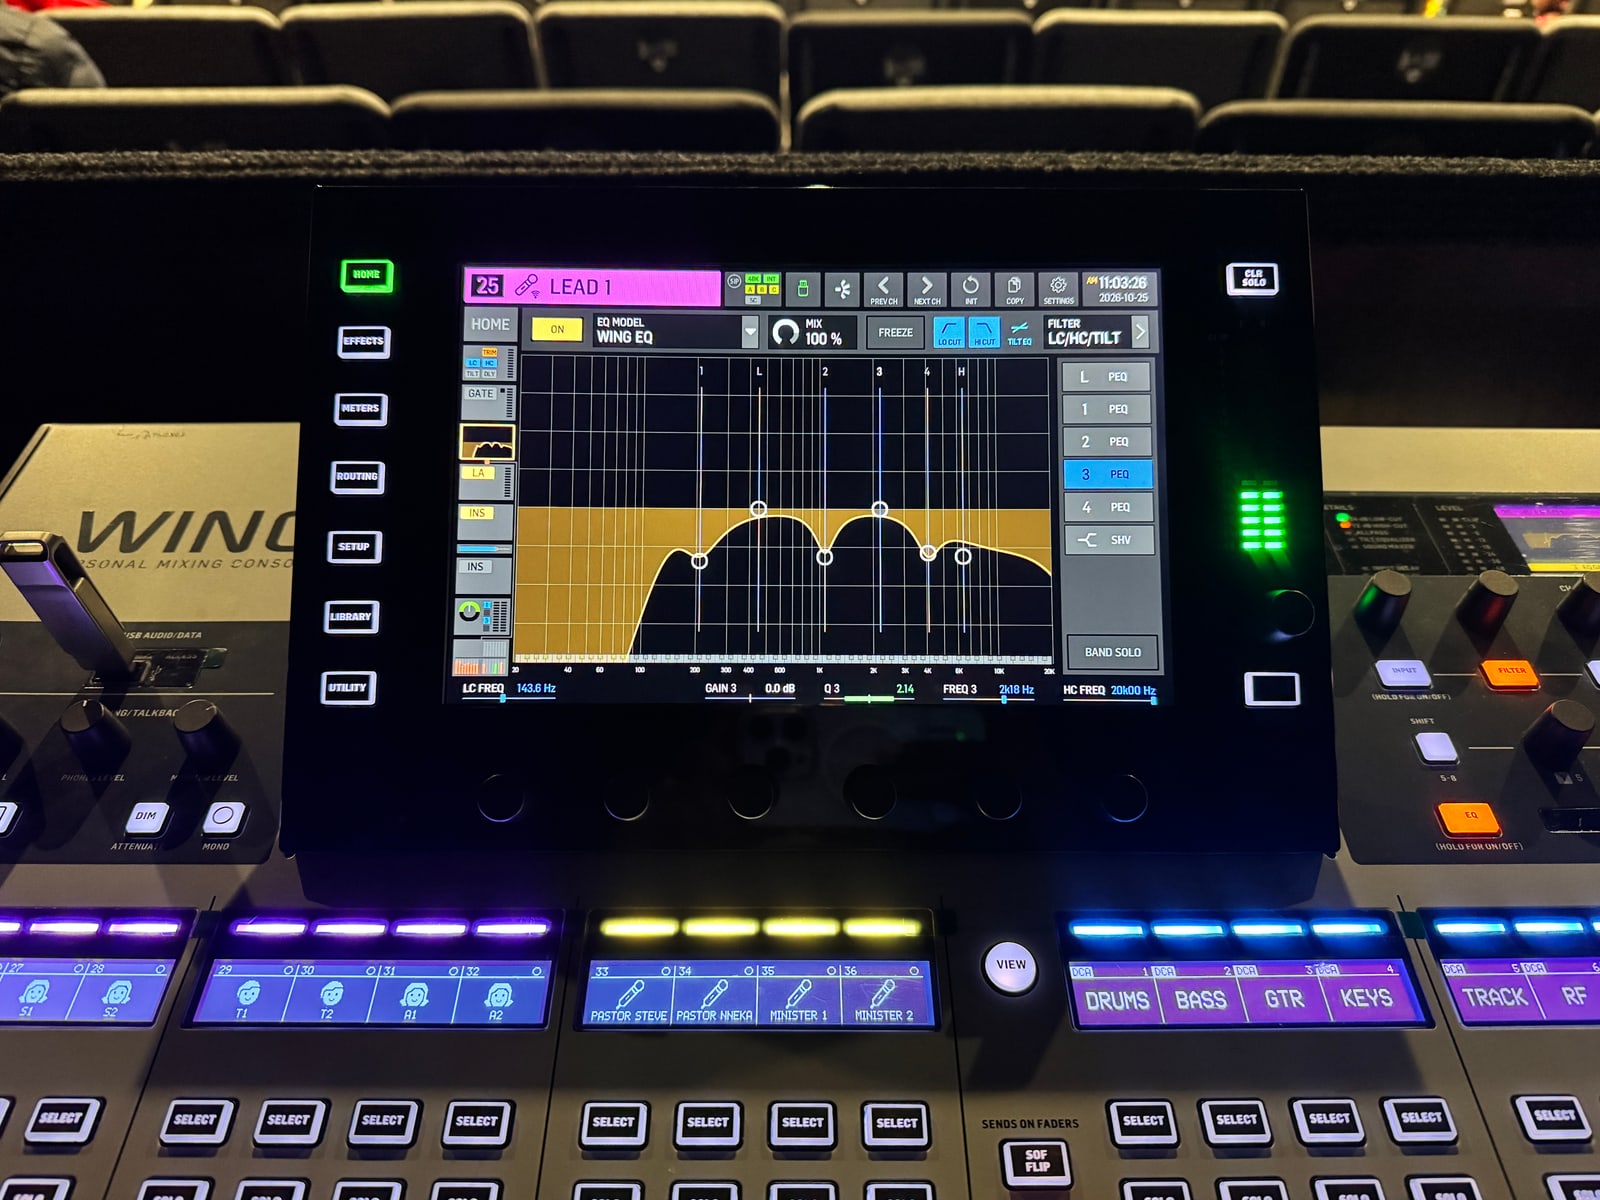
Step 7: Use the Channel Fader to Build the Mix
Once the input is healthy, bring the channel into the mix with the fader.
Faders near unity often give you a comfortable amount of control, but the mix still decides the final position. A background vocal, room microphone, effect return, or quiet instrument may need to sit lower. The important warning sign is when nearly every important fader is trapped at the top or barely above off.
If the fader must stay extremely low because the channel is overwhelming the mix, check whether the preamp, digital trim, source output, or processing is too hot. If the fader is at the top and the channel is still weak, inspect the signal path before pushing the master or amplifier harder.
Step 8: Check Buses, Matrices, and Main Outputs
Several healthy channels can add together and create too much level at the next stage.
Check:
- Monitor and in-ear buses
- Subgroups
- Effects sends and returns
- Broadcast and livestream buses
- Matrices
- Main left and right outputs
- Recording feeds
- System processors
Do not assume that a clean input guarantees a clean output. Follow the meters through the system.
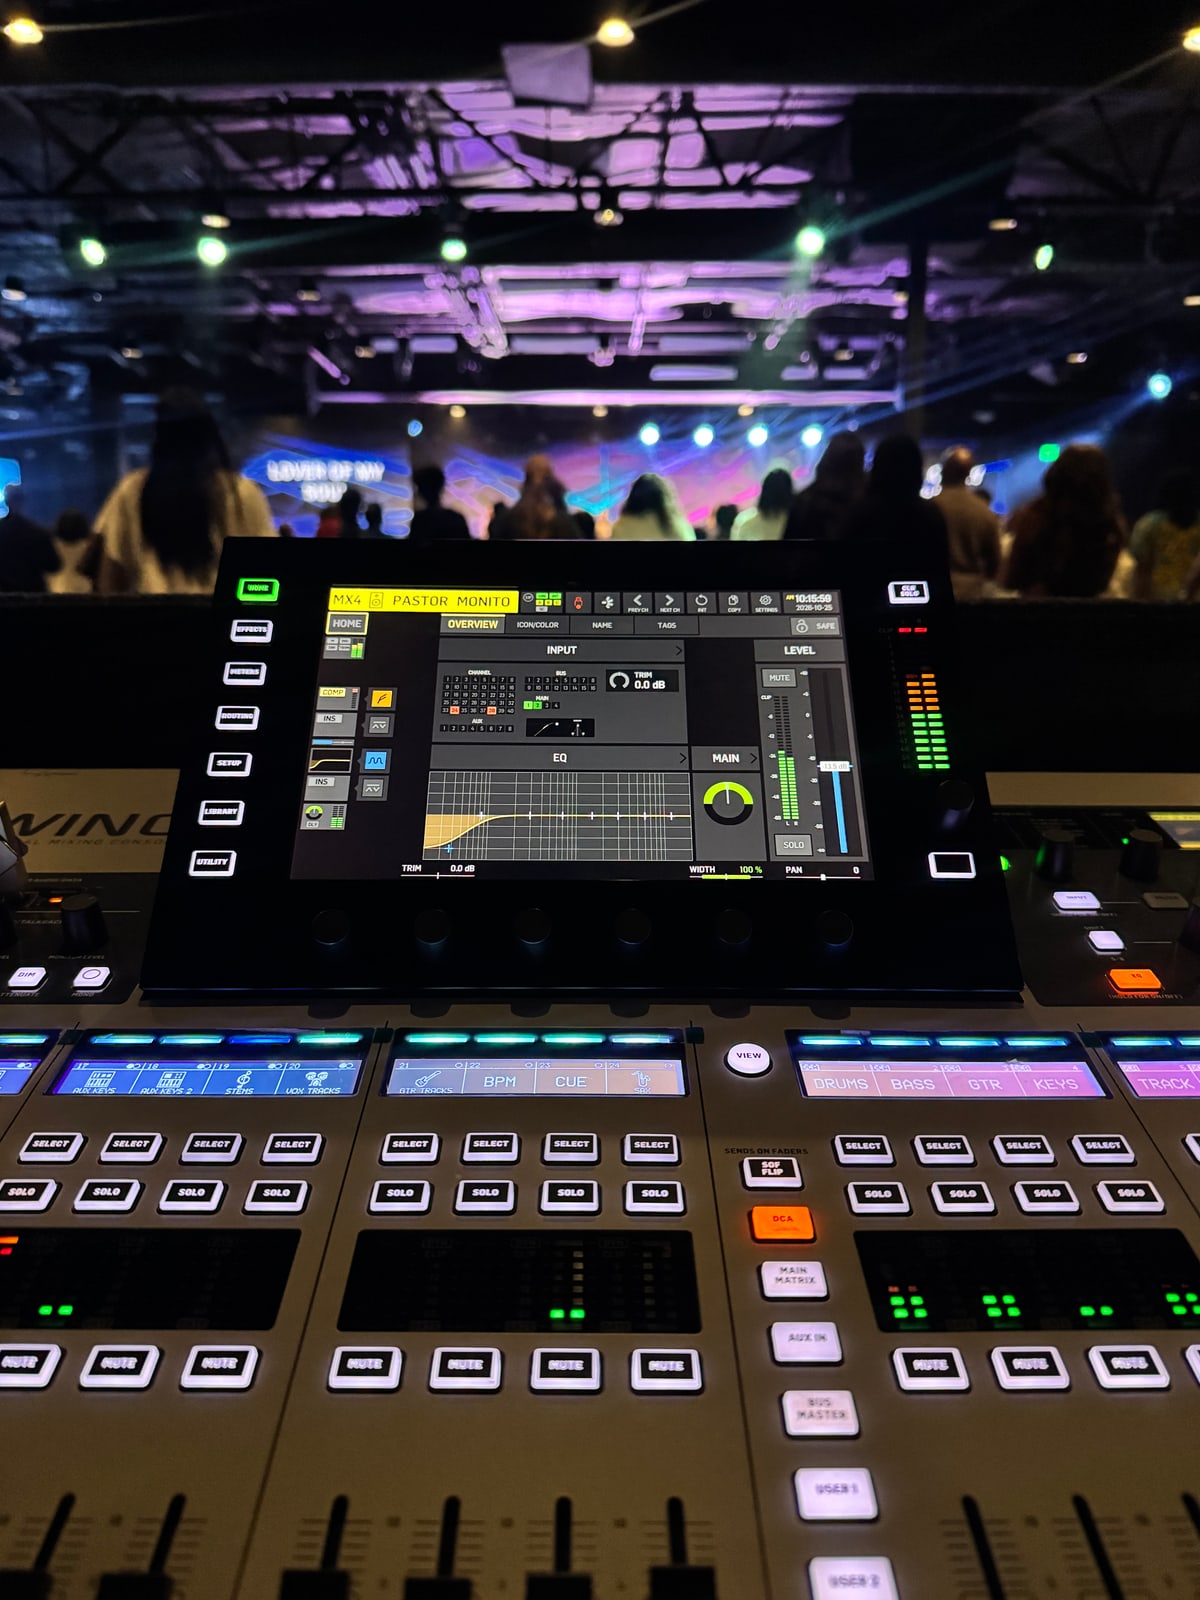
Step 9: Verify the Complete System at Realistic Level
Listen to the full band, program, or service at a realistic operating level. Check the loudest section you expect to encounter.
Walk through the room when possible. Listen to the main PA, monitors, front fills, delays, lobby feeds, broadcast mix, and recording path that apply to your system.
If one destination is clipping while the others are clean, fix that destination's signal path instead of changing every input.
Three Practical Gain-Structure Examples
Example 1: Live vocal microphone
Ask the vocalist to sing the loudest part of the song with the microphone at their real working distance. Use PFL or Solo, raise the preamp until the signal is healthy, and preserve headroom for an even louder moment.
If the singer moves the microphone farther away, adding gain also brings up more stage sound and loudspeaker spill. Correct microphone technique before using gain to compensate for a large distance problem.
Once the preamp is set, use the fader to place the vocal in the mix. If you need help shaping the vocal after the input is stable, read my guide on how to EQ live vocals without feedback.
Example 2: Keyboard, playback device, or active DI
Start by checking the source's own output and the type of console input receiving it. A device that is clipping internally will still sound clipped after you lower the console gain. A device set unnecessarily low may force you to add excessive gain later.
Ask for the loudest patch, song, or playback file that will be used. Keyboard patches and tracks can vary significantly in level, so setting gain from one quiet example may not protect the input later.
Use a pad or different input only when the actual signal level requires it. Then check the stereo bus and any livestream or recording destination, not just the input channels.
Example 3: Kick, snare, or another transient-heavy source
Drums produce fast peaks that can be much higher than their apparent average level. Ask the drummer for realistic hits and watch the peak behavior closely.
Leave enough headroom for the energy to increase once the band starts. A snare that looks safe during a gentle line check can clip on the first hard backbeat.
After applying EQ or compression, check the level again. Low-frequency boosts on kick and compressor makeup gain can add more level than the input meter originally showed.
Gain Structure for Monitors, Livestreams, and Shared Preamps
An analogue preamp sits near the beginning of the signal path. That means changing it can affect every destination receiving that source after the preamp.
If a vocal feeds front of house, stage monitors, in-ear monitors, a livestream, and a multitrack recording, a preamp change may move all of them. A front-of-house adjustment made during the first song can suddenly make the vocalist louder in the wedges or change the recording level.
This becomes especially important when two consoles share one stagebox. One operator should own the analogue preamp. The other console should use digital trim or gain-compensation features when the system supports them.
Even with gain compensation, the physical preamp and converter still have a real clipping limit. Clear ownership and communication are more reliable than two engineers making independent head-amp changes.
Once the show begins, I prefer to mix with the faders and leave the preamps alone unless there is a real input problem. If I must change a preamp, I immediately recheck every important destination that receives that source.
Does More Gain Cause Feedback?
Gain structure and feedback are connected, but they are not the same problem.
Feedback happens when sound from a loudspeaker reaches a microphone, returns through the system, and repeats with enough level at a particular frequency to sustain the loop. The total level around that loop matters, whether it comes from a preamp, fader, bus, output, or amplifier stage.
Proper gain structure does not create unlimited gain before feedback. It makes the system easier to control and troubleshoot. Microphone technique, microphone polar pattern, loudspeaker placement, stage volume, open microphones, room acoustics, system tuning, and EQ still determine how stable the system can become.
If the input meter is healthy but one monitor feeds back, investigate that monitor path. If the entire system is unstable, revisit the physical setup and the total loop instead of assuming the preamp number is the solution.
Common Gain-Structure Mistakes
Setting gain from a quiet soundcheck
The performer gets louder during the event, the input clips, and every downstream mix has to be repaired. Ask for the real level before building the mix.
Turning the preamp too high and pulling the fader down
The fader can reduce the channel's level in the mix, but it cannot undo clipping that happened at the preamp or converter.
Keeping the preamp too low and compensating later
Turning up faders, buses, and outputs may create enough volume, but it can also reveal unnecessary hiss and leave the system difficult to control.
Using the master fader to fix one weak channel
The master changes the complete mix. Diagnose the weak channel at its source, input, processing, and routing stages first.
Ignoring wireless gain
A wireless signal can overload at the transmitter before it reaches the receiver or console. It can also be set so low that the system's noise becomes more noticeable. Check the transmitter sensitivity, receiver output, and console input as separate stages.
Forgetting that processing changes level
Large EQ boosts, compressor makeup gain, effect returns, and inserted processors can overload a channel or bus that was healthy before processing.
Changing a shared preamp without checking other mixes
The adjustment may also change monitors, broadcast, recording, or another console. Establish ownership and use local digital trim where appropriate.
Treating one meter target as a universal rule
A useful number on one console may mean something different on another. Learn how your mixer displays nominal level, peaks, and clipping.
Troubleshooting Gain Problems
The channel sounds distorted even with the fader down
Check first: The source, wireless system, preamp, and converter.
What to do: Solo the channel, find the earliest stage that is overloaded, reduce it there, and check the source output.
The signal is quiet and noisy
Check first: The source level, microphone placement, cable, DI, and preamp.
What to do: Fix the source and input level before adding more gain downstream.
The compressor is working constantly
Check first: The input level, compressor threshold, EQ boosts, and makeup gain.
What to do: Check the level entering and leaving the processor, then correct the stage that is driving it too hard.
The fader must stay near the bottom
Check first: The source output, preamp, digital trim, and channel processing.
What to do: Reduce the appropriate upstream level without sacrificing the signal quality the input stage needs.
The fader is at the top but the channel is still quiet
Check first: The source, input type, preamp, routing, and downstream system level.
What to do: Trace the signal from the source instead of turning up every control.
The inputs look healthy but the mix bus clips
Check first: Channel summing, subgroup level, effects returns, and bus processing.
What to do: Reduce level at the stage overloading the bus and preserve output headroom.
A monitor changes after a front-of-house adjustment
Check first: Whether a preamp change reached a pre-fader monitor send.
What to do: Restore the correct gain relationship and recheck every affected monitor.
The livestream clips while the room sounds clean
Check first: The broadcast bus, matrix, interface, and encoder input.
What to do: Inspect the dedicated broadcast path and correct the stage that is clipping.
Quick Gain-Structure Soundcheck Checklist
Before the service or event, confirm that:
- The source is connected to the correct input type.
- Phantom power and pads are used only where required.
- Wireless transmitters, receivers, keyboards, and playback devices have appropriate output levels.
- The performer gives you a realistic performance level.
- Pre-Fader Listen (PFL) or the console's Solo function shows a healthy input with headroom.
- No source, preamp, converter, processor, bus, or output is clipping.
- EQ boosts and compressor makeup gain are included in the level check.
- Important channel faders have a usable amount of travel.
- Monitor, livestream, recording, matrix, and main outputs are checked separately.
- Shared-preamp ownership is clear.
- The loudest section of the program has been tested.
- The complete system remains clean at its intended operating level.
For a repeatable setup process beyond gain alone, download my free FOH Pre-Service Checklist.
Frequently Asked Questions
Where should a channel peak on a digital mixer?
There is no single correct number for every mixer because meter scales and reference points differ. Use your console's documentation and leave clear space below its clip point. Test the loudest expected performance level rather than setting gain from an average conversation.
Should every channel fader sit at unity?
No. Unity is a useful working area, not a law. The final fader position depends on the source and the mix. If nearly every important fader is extremely high or low, however, inspect the gain structure instead of accepting it as normal.
What is the difference between gain and trim?
Gain usually controls the analogue preamp before conversion. Digital trim changes level after conversion. The exact terminology varies by manufacturer, so check the signal-flow diagram for your console.
Can I fix clipping by lowering the fader?
Only if the clipping is happening at or after the fader. If the source, wireless system, preamp, or converter has already clipped, lowering the fader makes the distortion quieter but does not remove it.
Should I change gain during a live event?
Change it when a real input problem requires it, but understand what else it affects. A preamp adjustment can move pre-fader monitors, broadcast feeds, recordings, and another console sharing the same stagebox. Recheck those destinations after the change.
Does proper gain structure prevent feedback?
It helps you operate and troubleshoot the system correctly, but it does not replace good microphone technique, loudspeaker placement, stage-volume control, system tuning, and EQ. Feedback depends on the complete acoustic loop.
Build a Clean Signal Before You Shape the Tone
Good gain structure is not about chasing the hottest possible meter reading. It is about creating a clean and predictable path through the entire system.
Start with the source. Set the preamp from a realistic performance. Leave headroom. Check processing, buses, outputs, and every important destination. Then use the faders to mix.
When that foundation is right, EQ and compression become easier to hear and easier to control.
If you want a beginner-friendly walkthrough of frequency ranges, filters, gain structure, and practical EQ decisions, explore my EQ Made Simple E-book.
About the Author
I am Tobi Mark, founder of Markex Productions. I teach beginner and intermediate sound engineers how to replace trial and error with a clear process they can use during real services and events. Learn more about me and Markex Productions.
Technical References
Get practical live-sound tips from Markex
Join the Markex newsletter for clear, useful mixing guidance you can apply during real services and events.
No spam. Unsubscribe anytime.